Your kitchen counter is cleared, a pot of warm water is ready, and a dozen white eggs sit waiting. This year the plain dip-and-done method feels like a missed opportunity when so much more is possible with a few extra supplies.
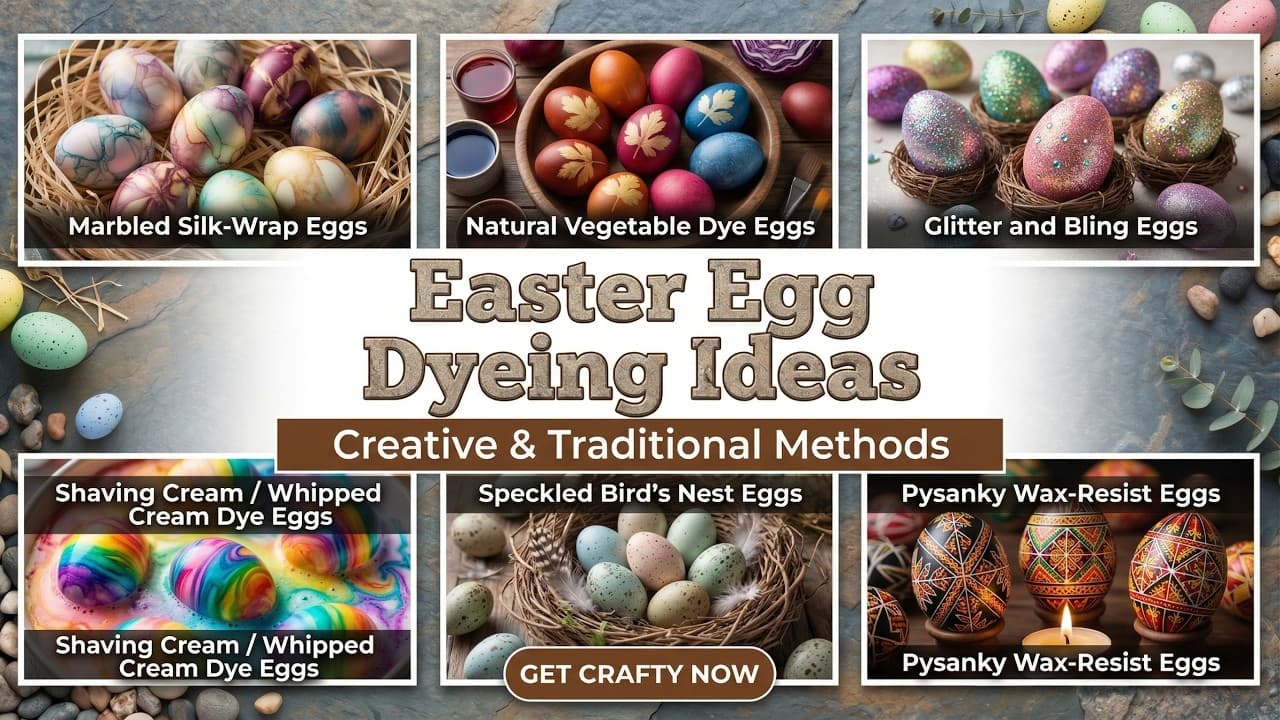
These easter egg dyeing ideas cover everything from oil-swirled marble finishes to soft layered pastels, giving you a clear technique for each look without guesswork or wasted dye.
Key Takeaways
- Swirl a few drops of cooking oil into dye bath water to create instant marble patterns with zero special tools
- Layer two pastel shades by dipping the bottom third first, letting it dry, then dipping the full egg in a lighter tone
- Rubber bands and tape applied before dyeing create sharp geometric negative-space designs when removed after drying
- White crayon or a melted-wax candle drawn on the shell before dipping resists dye and reveals hidden patterns
- Cooling eggs completely in the refrigerator before dyeing prevents condensation streaks that muddy clean color gradients
Full Video Transcript
What if the secret to creating the most beautiful Easter eggs wasn't expensive kits, but simple techniques that turn every egg into a masterpiece? Have you ever tried dying eggs and felt like the results were too basic, too plain, or just not wow enough? This year, we're changing that because decorating for Easter isn't just about color. It's about creativity, layering, technique, and turning simple eggs into stunning works of art. Today, we're diving into Easter egg dying ideas
with long detailed techniques that will help you create professional-looking designs right at home. Before we dive into today's video, I'd like to welcome you to Decor Media, your go-to source for home decor inspiration. We bring you creative ideas to transform your space with style and ease, helping you elevate every corner of your home effortlessly. If you're new here, don't forget to hit that subscribe button and turn on the bell icon, so you never miss out on
our latest decor inspirations. Now, let's get started. >> How can layering multiple dye colors create rich and complex Easter egg designs? Layering is one of the most powerful techniques in egg because it allows you to build depth rather than settling for flat single color results. Instead of dipping your egg once and stopping there, layering involves dying the egg multiple times using different colors in a specific order. For example, you can start with a light base color
like yellow, then partially dip the egg into orange, and finally add a darker shade like red or purple. Each layer interacts with the previous one, creating new tones and gradients that look far more advanced than basic dying. This technique also allows you to create patterns by controlling which parts of the egg are exposed to each color. You can tilt the egg, dip only sections, or rotate it slowly for blended transitions. The result is a multi-dimensional egg
that feels artistic and intentional, perfect for centerpiece displays or decorative arrangements. If you love advanced DIY techniques, make sure to like and share this video. >> How can marble dye techniques create unique one-of-a-kind patterns? Marble dyeing is perfect if you want each egg to look completely unique without needing advanced artistic skills. This technique involves adding oil to the dye bath, which creates separation between the dye and the egg surface. When you dip the egg, the dye
sticks unevenly, forming natural swirls and marble-like textures. The beauty of this method is that no two eggs will ever look the same. Each one develops its own pattern based on how the dye and oil interact. You can experiment with different color combinations to create soft, elegant marbling or bold, high-contrast designs. Comment if you love abstract designs. >> How can resist techniques, wax or tape, create detailed patterns? Resist techniques allow you to control exactly where the dye
goes by blocking certain areas. You can use wax, tape, or stickers to cover parts of the egg before dyeing. Once the egg is dyed and the resist material is removed, the protected areas remain unchanged, creating clean patterns. This method is perfect for stripes, geometric shapes, or even intricate designs. By repeating the process with different colors, you can build layered patterns that look highly detailed. It's one of the best ways to create sharp, professional-looking designs at home.
Like this video if you enjoy precision DIY. >> How can natural dying create soft and earthy tones? Natural dying uses ingredients like onion skins, turmeric, cabbage, and coffee to create organic colors. Unlike artificial dyes, these produce softer, muted tones that feel calm and natural. Each ingredient creates a unique shade from warm browns to gentle blues and yellows. The unpredictability of natural dyes adds charm. No two eggs will be identical, giving them a handcrafted look. This method
is perfect for rustic or eco-friendly Easter decor. Subscribe for more natural craft ideas. How can sponge dying add texture to Easter eggs? Sponge dying is a great way to add texture and depth to your eggs. Instead of dipping, you use a sponge to dab dye onto the surface. This creates a soft speckled effect that looks artistic and layered. You can use multiple colors to build texture gradually. The result is a rich painterly look that feels unique
and creative. Comment if you love texture designs. How can dipping techniques create modern color block designs? Color blocking involves dividing the egg into sections using different colors. Instead of blending shades, you dip parts of the egg into separate dye baths to create bold contrasts. For example, half the egg can be blue while the other half is yellow. This technique creates a clean modern look that stands out in displays. It's simple to do, but looks very stylish.
You can experiment with angles and shapes to create more dynamic designs. Check the description for modern ideas. How can splatter dyeing create bold artistic effects? Splatter dyeing is perfect for creating fun and energetic designs. Using a brush or toothbrush, you flick dye onto the egg, creating random splashes of color. This technique works best with contrasting colors for maximum impact. It's a great option if you want a playful and modern look. Like and share this video for
fun ideas. >> How can combining techniques create advanced designs? The most stunning eggs often use multiple techniques together. For example, you can combine ombre dyeing with resist patterns or marble effects with color blocking. Each layer adds complexity and depth. This approach allows you to create truly unique and professional-looking designs. Check the description for combo ideas. How can using different egg types affect eye results? The type of egg you use plays a big role in the final
outcome. White eggs produce bright, vibrant colors, while brown eggs create deeper, richer tones. Even the texture of the shell can influence how the dye appears. Experimenting with different eggs can add variety to your designs. Subscribe for more helpful tips. How can adding vinegar improve dye absorption? Vinegar helps the dye bond with the egg shell. Without it, colors may appear dull or uneven. Adding vinegar ensures brighter and longer-lasting results. Subscribe for more science-based tips. >> How can
drying techniques improve dye results? Proper drying prevents smudging and helps colors set evenly. Letting eggs dry naturally or placing them on racks ensures a clean finish. Rushing this step can ruin detailed designs. Like this video for pro tips. How can temperature affect dying results? Warm dye solutions help colors absorb better. Cold dyes may produce lighter or uneven results. Controlling temperature ensures consistency. Check the description for detailed guides. Easter egg dying is not just a craft, it's
a creative journey. With techniques like layering, ombre, marble, and resist dying, you can transform simple eggs into beautiful works of art. The more you experiment, the more unique your designs become. Because in the end, the magic of Easter isn't just in the celebration, it's in the creativity you bring to it.